Today in this article we will learn Laravel Login Logout Registration Forget Password Functionality from scratch. Laravel makes implementing authentication very simple. Laravel provide you pre-build authentication function make:auth, The authentication configuration file is located at config/auth.php, which contains several well documented options for tweaking the behavior of the authentication services. After running php artisan make:auth command the laravel automatically setup login, logout, registration page, forget password options. If you are use Laravel Custom Authentication Tutorial with Example then click here. Here you can check how to work laravel authentication functionality step by step easy way.
Step 1 : Install Laravel Project
First you need to setup a new laravel project just running below command.
composer create-project --prefer-dist laravel/laravel laravelauth
Step 2 : Run make:auth command
After creating project now run below auth command in your terminal.
php artisan make:auth
After running auth command laravel configured everything for you out of the box. The authentication configuration file is located at config/auth.php, which contains several well documented options for tweaking the behavior of the authentication services. The controller, model, blade files and routes created owns. So first we check our routes and we need to add some code in our web.php file.
Step 2 : Update Your Routes
First check out your routes/web.php, here you show the laravel provide you Auth:routes automatically, But this route not redirect any user first in login page so we update it using middle ware. You need to add auth middleware in your routes file. The auth middleware redirect without authentication user to login page.
routes/web.php
/*
|--------------------------------------------------------------------------
| Web Routes
|--------------------------------------------------------------------------
|
| Here is where you can register web routes for your application. These
| routes are loaded by the RouteServiceProvider within a group which
| contains the "web" middleware group. Now create something great!
|
*/

// Route::get('/', function () {
//     return view('welcome');
// });

Route::group(['middleware' => ['auth']], function () {
    Route::get('/', 'HomeController@index')->name('home');
});

Auth::routes();
Step 2 : Check Your Model & Migration File
Thats why Laravel is a best framwork now a days, because its provide you all authentication functionality easy way. Now you can check app/User.php, where you can see your file looking something like below code.
app/User.php
<?php
namespace App;
use Illuminate\Notifications\Notifiable;
use Illuminate\Contracts\Auth\MustVerifyEmail;
use Illuminate\Foundation\Auth\User as Authenticatable;
class User extends Authenticatable
{
use Notifiable;
/**
* The attributes that are mass assignable.
*
* @var array
*/
protected $fillable = [
'name', 'email', 'password',
];
/**
* The attributes that should be hidden for arrays.
*
* @var array
*/
protected $hidden = [
'password', 'remember_token',
];
/**
* The attributes that should be cast to native types.
*
* @var array
*/
protected $casts = [
'email_verified_at' => 'datetime',
];
}
Now you can see in your database/migrations, here if saw two migration file 2014_10_12_000000_create_users_table.php where you can see name, email password fields and other file is 2014_10_12_100000_create_password_resets_table.php which is used for forgetting password link more information we will learn another article when we create custom authentication in laravel.
Step 3 : Check Your Controller
Now you can check your app/Http/Controllers/Auth directory you see here all controllers which is used in laravel authentication. Laravel ships with several pre-built authentication controllers, which are located in the App\Http\Controllers\Auth namespace. The RegisterController handles new user registration, the LoginController handles authentication, the ForgotPasswordController handles e-mailing links for resetting passwords, and the ResetPasswordController contains the logic to reset passwords. Each of these controllers uses a trait to include their necessary methods.
Step 4: Check Your Views
Same like controller section, the php artisan make:auth command will create all of the views you need for authentication and place them in the resources/views/auth directory. The make:auth command will also create a resources/views/layouts directory containing a base layout for your application. All of these views use the Bootstrap CSS framework, but you are free to customize them however you wish. When a user successfully authenticated, they will be redirected to the /home url.
You can customize the post-authentication redirect location by defining a redirectTo property on the LoginController, RegisterController, ResetPasswordController, and VerificationController. Where LoginController redirect you login page, RegisterController redirect you register page, ResetPasswordController to reset your password, ForgotPasswordController controller forget your password and the VerificationController varify the user.
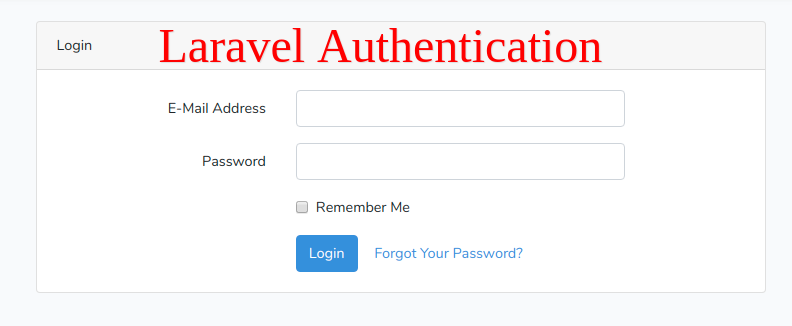
Your Login Page
After this you can see your login page same like below page. After login here your automatically redirect home page, but you need register first click register link and register then login here.

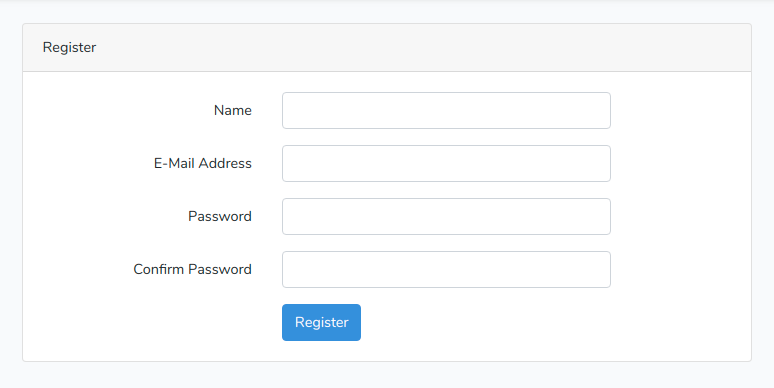
Your Register Page
The register blade file show this file in your laravel project.
The forget your password link work if you forget your password, you just click this link and add your email which is you added in registration time and send. The link automatically gone your mail function. if you have no idea how it is go.
You need to added your mailtrap details in your .env file. If you have not any mailtrap details then go mailtrap.io and create an account the add your username and password here. More knowledge click here.
MAIL_DRIVER=smtp
MAIL_HOST=smtp.mailtrap.io
MAIL_PORT=2525
MAIL_USERNAME=331e7bae0#### Your mailtrap username here
MAIL_PASSWORD=25a1052b7#### Your mailtrap password here
MAIL_ENCRYPTION=null
After adding this reset your password and check your mailtrap inbox you got a new message open and click the reset password link, you will redirected a new password link where you change your password easily.
So friends its the laravel authentication registration, Login, logout, reset password functionality. You can create your owns custom authentication functionality. We brings custom auth functionality in another article. Here if you have any question please comment us.